Proxmox Terraform GitLab CI/CD: Automate LXC Container Deployment
You’ll see how easy it is to get started with IaC and provision a Proxmox LXC container using Terraform with GitLab CI/CD.
Prerequisites for Terraform Proxmox Integration
- create role for the Terraform user in Proxmox
- create the service account (user) in Proxmox
- assign the role to the user in Proxmox ( Check out the Proxmox Terraform provider link for more details https://registry.terraform.io/providers/Telmate/proxmox/latest/docs )
- Create an API token for the service account
- Create the GitLab project
- Pick a GitLab Terraform template. (Latest or Stable)
- a GitLab runner
Initialize GitLab Terraform Pipeline
GitLab comes bundled with Terraform support and state file management.
The .gitlab-ci.yml file will need to include instructions for Terraform. You can use a GitLab Terraform template or build your own. 😄
include:
 # fetch stable template
  - template: Terraform.gitlab-ci.yml
Declare TF variables, I’m using the defaults:
variables:
 TF_STATE_NAME: default
 TF_CACHE_KEY: default
 TF_ROOT: terraform/ # set to the relative path of your tf files in GitLab
Setup the main.tf and variables.tf files
# providers.tf or main.tf up to you or naming
terraform {
  backend "http" {
  }
  required_providers {
    proxmox = {
      source  = "Telmate/proxmox"
      version = "2.9.14"
    }
  }
}
provider "proxmox" {
  pm_api_url          = var.proxmox_url
  pm_api_token_secret = var.api_token
  pm_api_token_id     = var.api_id
}

# variables.tf
variable "proxmox_url" {
  type = string
}
variable "api_token" {
  type = string
}
variable "api_id" {
  type = string
}
In the GitLab UI create new variables: TF_VAR_proxmox_url, TF_VAR_api_token, and TF_VAR_api_id .
Settings -> CI/CD -> Variables:

Create Terraform LXC Container Configuration
Use Terraform to declaratively state what resources you want to create. Do this by creating a file: containers.tf Tweek to fit your environment
# containers.tf DEMO
resource "proxmox_lxc" "terraform-test" {
  target_node  = "pve01" # Proxmox server hostname
  hostname     = "terraform-test" # container name
  # LXC template name. Sigh RHEL
  ostemplate   = "local:vztmpl/almalinux-9-default_20221108_amd64.tar.xz"
  # use a secure password
  password     = "terraform"
  unprivileged = true # container process runs unprivileged
  // Terraform will crash without rootfs defined
  rootfs {
    storage = "local-lvm"
    size    = "5G"
  }
  network {
    name   = "eth0"
    bridge = "vmbr0"
    ip     = "dhcp"
  }
}
You’re ready to add the deploy / destroy stages to the pipeline .gitlab-ci.yml :
include:
 # fetch stable template
  - template: Terraform.gitlab-ci.yml

variables:
 TF_STATE_NAME: default
 TF_CACHE_KEY: default
 TF_ROOT: terraform/ # path to terraform manifests

deploy:
  environment:
    name: $TF_STATE_NAME
    action: start
    on_stop: destroy

destroy:
  extends: .terraform:destroy
  environment:
    name: $TF_STATE_NAME
    action: stop
Deploy Infrastructure with GitLab CI/CD Pipeline
Upon commit, the pipeline will start executing:
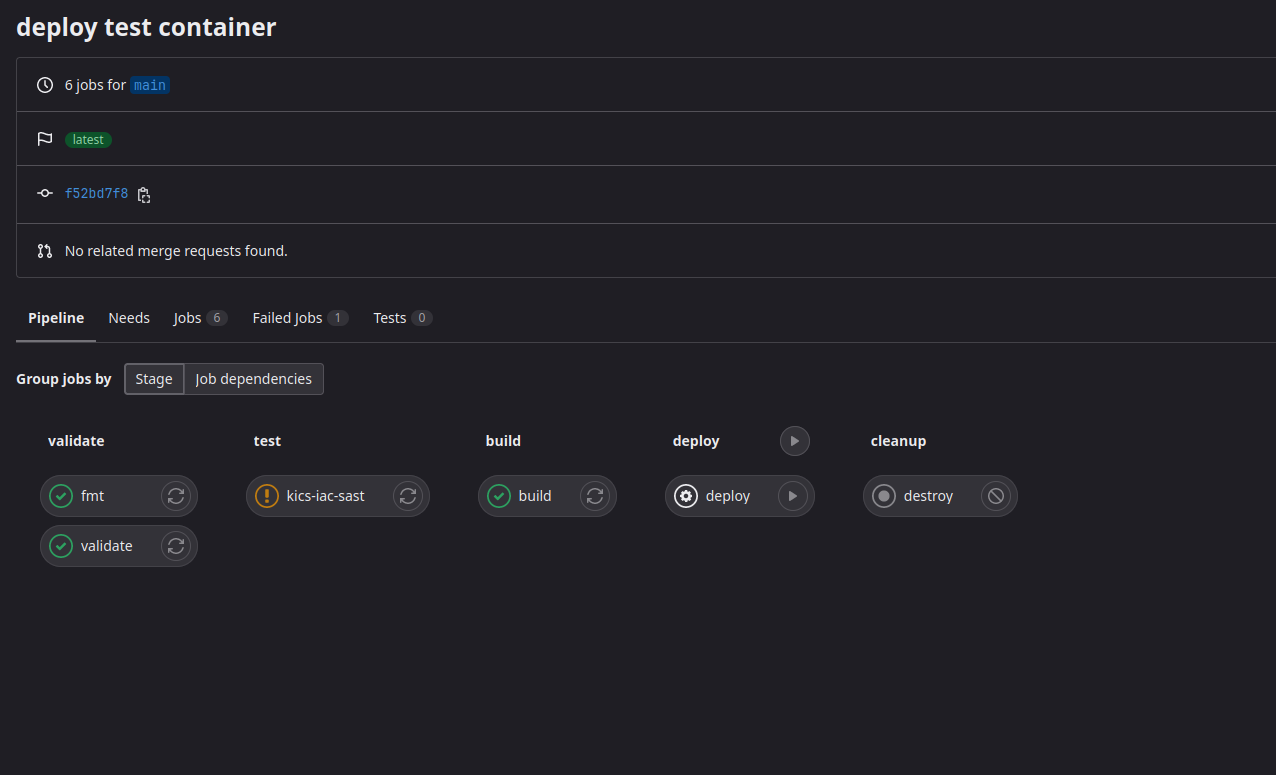
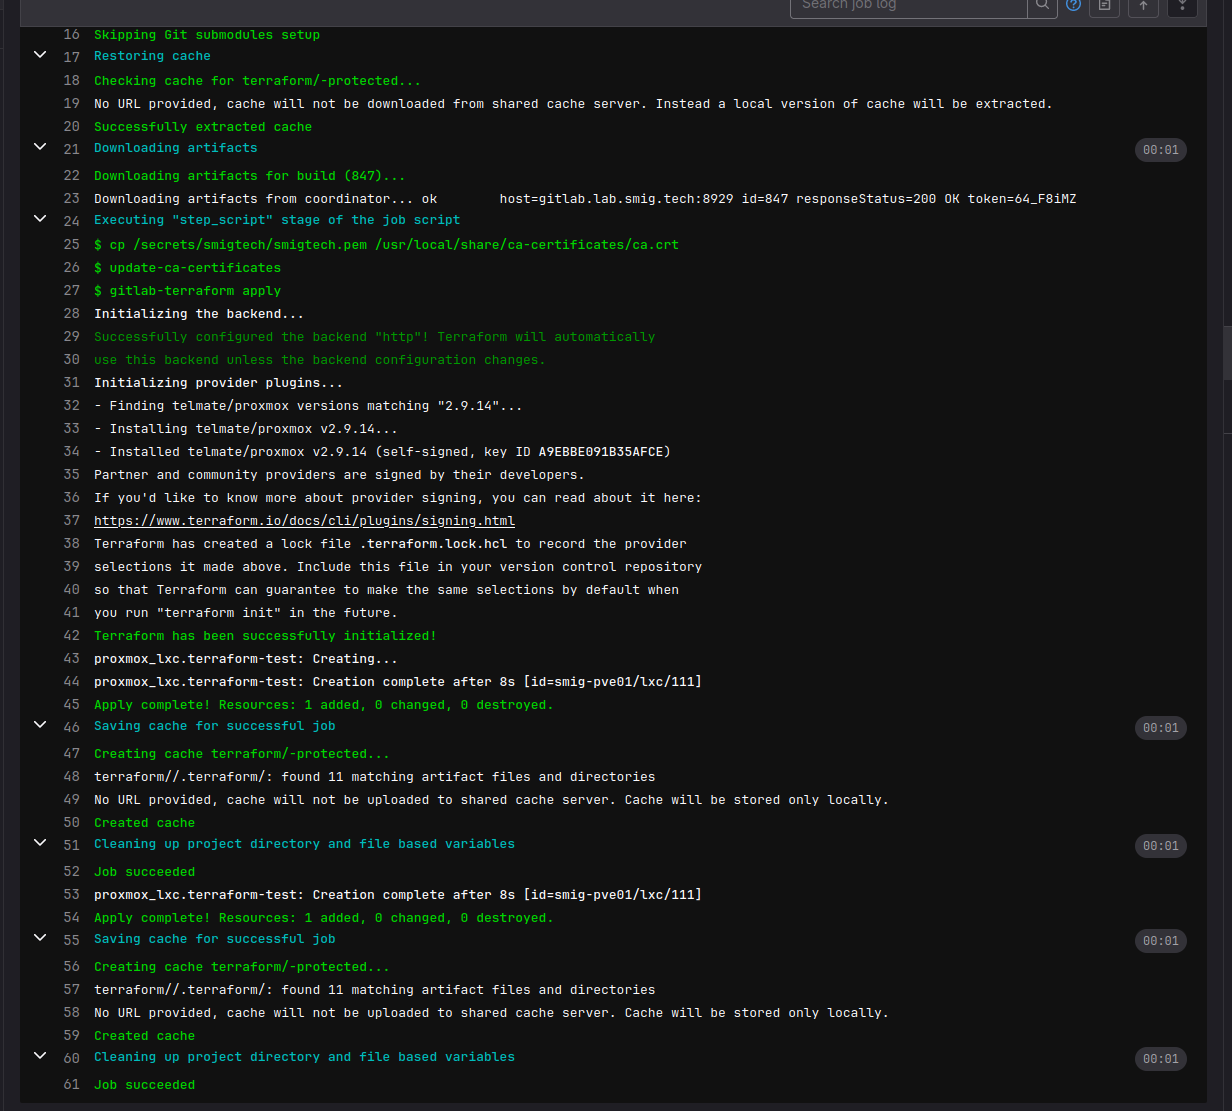
The deploy step is set to manual by default. Hit the play button and check proxmox to see the newly created container.
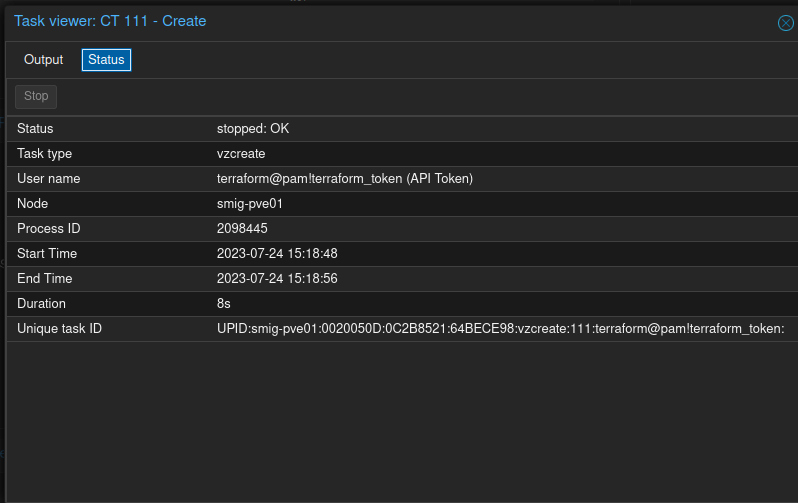
The job status shows creation via terraform svc account:
Clean Up Resources with Terraform Destroy
Provisioning resources with Terraform can open up a lot of possibilities. It gives you the ability to create an on-prem cloud environment.
Utilize things like cloud-init and configuration times can be significantly reduced.
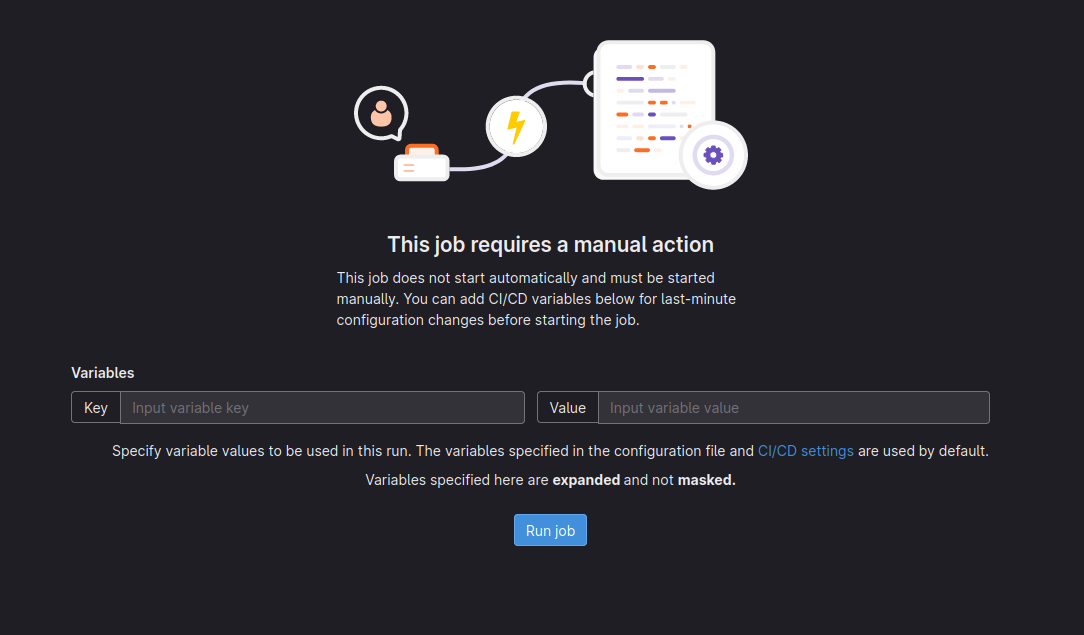
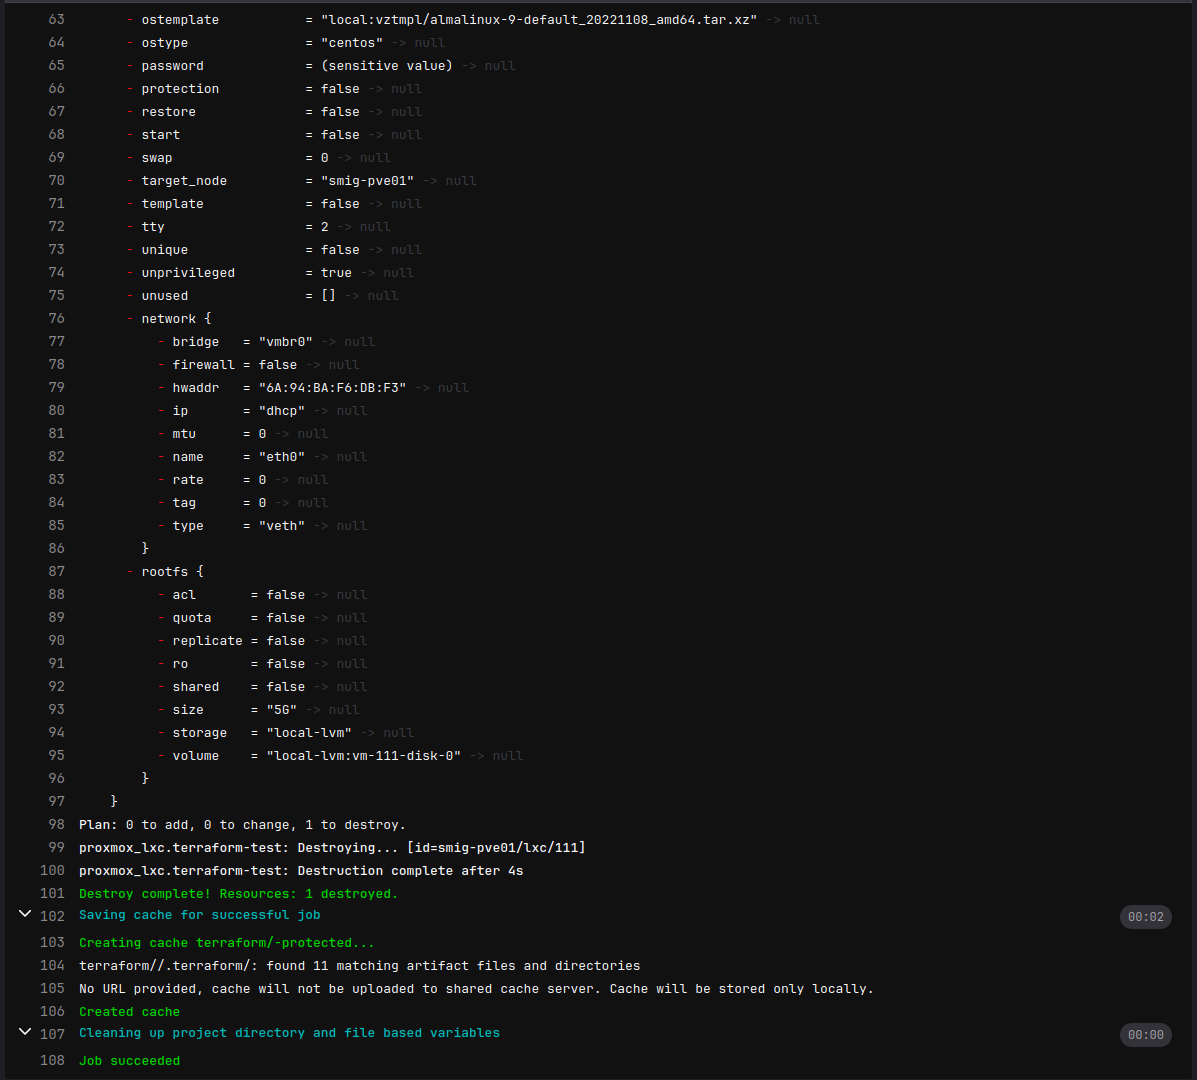
To clean up launch the destroy job.
Happy labbing!